Homemade Coasters With Tiles and Scrapbook Paper
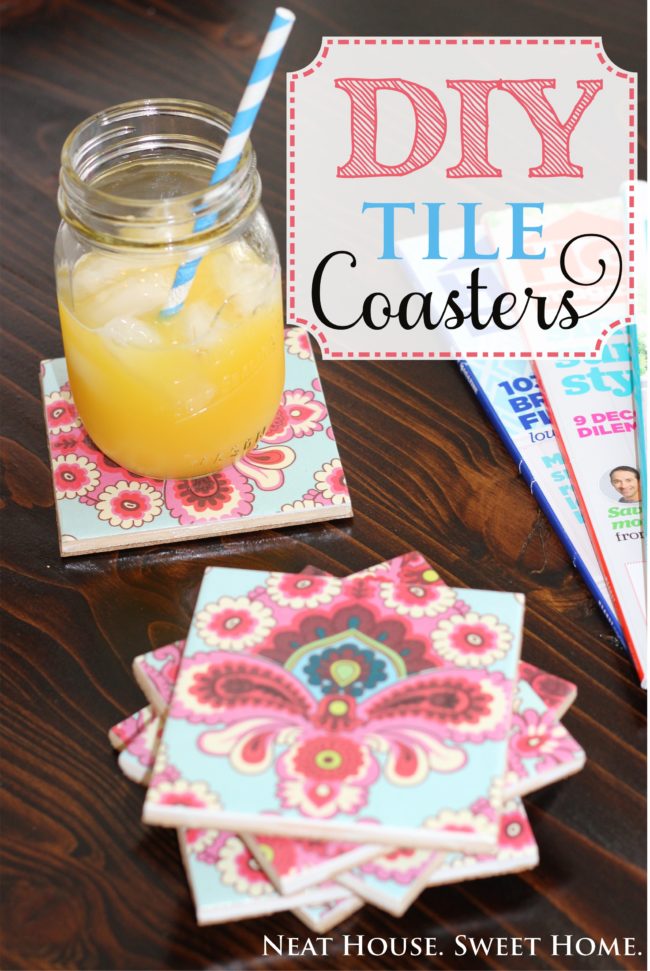
Friends, this project is so easy, so fast and so fun to make, you are going to want to DIY tile coasters not only for yourself but for your family and friends. Not to mention, they are inexpensive to make without looking cheap.
I have been looking to make these coasters out of tile for a while. If I would have known that it was going to take me less than an hour to make them, I would have definitely made them a long time ago. As a matter of fact, I see these tile coasters in the future as Christmas presents. And believe me, I am never this ahead of the game when it comes to planning for Christmas gifts, cards, and whatnot.

I made these DIY tile coasters inspired by a tutorial pinned by Gretchen, at Boxy Colonial. Bloggers inspiring bloggers. My favorite part of the blogosphere! So, let's get to it:
Material and Tools Needed
This list contains some affiliate links. For more information, please read my Affiliate Disclosure.
- 4×4 ceramic tile (I bought mine at Home Depot @ $0.16 each!)
- Scrapbook paper (your choice)
- Paper slicer or guillotine (optional)
- Scissors
- Ruler
- Mod Podge (gloss or matte)
- 2″ foam brush
- Clear shellac spray
- Self-adhesive cork liner
1. Cut Scrapbook Paper to Size
Using a ruler, measure your tile. Even though you know you're getting a 4″x4″ tile, there is always a small difference. My tiles measured exactly 4 1/4″ square. Cut the scrapbook paper using scissors, or a paper slicer as shown in the picture below. I love my paper slicer (also called guillotine), you can measure and cut in one step.

Before proceeding to Step #2, lay the piece of paper on top of the tile, to ensure it is the right size. I like my paper covering the entire surface of the tile, but if you want to leave a small border, by any means do that!

2. Apply Mod Podge
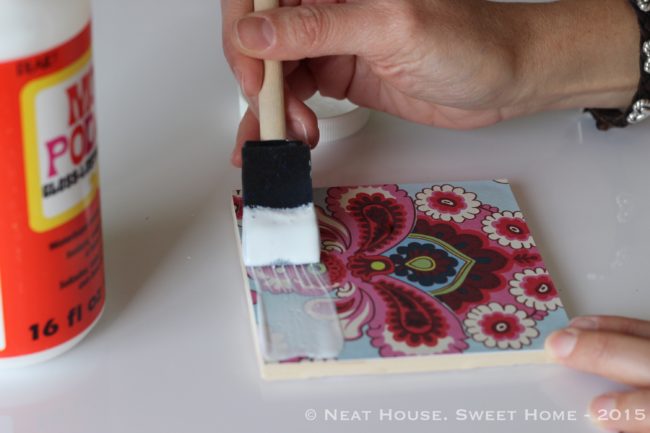
With a 2″ foam brush, apply a small amount of Mod Podge on the tile. Apply just enough amount to cover the entire top surface of the tile. Too much glue will wet and wrinkle your paper. A little bit goes a long way. Work quickly before the glue becomes tacky.

3. Seal the Paper with Mod Podge
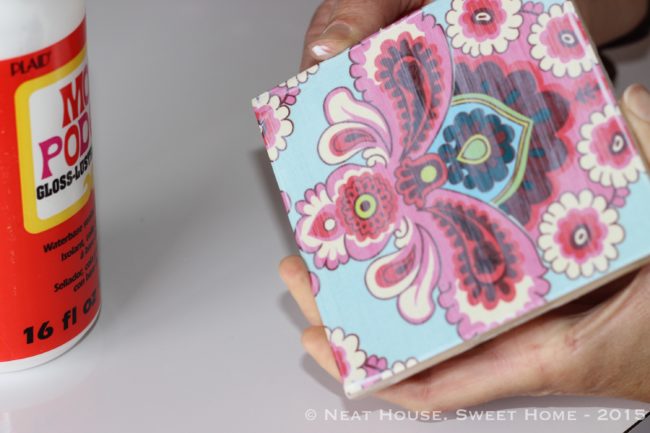
As soon as you have applied the Mod Podge on the tile, lay the piece of scrapbook paper on top and smooth the surface with your fingers. Immediately, apply another coat of Mod Podge directly on top of the paper. This step ensures total adherence of the paper to the tile.

I went the 'extra mile' and applied Mod Podge on all 4 sides of the tile and put pressure on the paper edges running my fingers through them.


Even out the Mod Podge until the surface has a clear and almost streak free surface. Allow drying. At this point, while you wait for the first tile to dry, you can repeat steps 2 and 3 on the next tile.
4. Apply Clear Coat
Once the Mod Podge coat on the tile has dried, proceed to spray the tile with the clear shellac spray. Spray in a well-ventilated area (preferably outdoors) always following the instructions on the label. I applied two coats of shellac on each tile.

When using shellac, you don't need to wait for the first coat to fully dry in order to apply an extra coat. Just wait for it to become tacky and you're good to go! Two minutes or less. No long waiting times here, that's a winner in my book.
5. Cut Cork Liner
On a table, open up your roll of self-adhesive cork liner. Measure and cut square pieces that will later be attached to the back of the tile.
 I loved working with this particular cork liner because of the cutting lines on the back. It made measuring and cutting a breeze!
6. Peel and Stick Cork Liner
Carefully peel and stick the cork liner squares to the back of the tiles.


And you are done! So easy and so fun! Imagine the possibilities when using all kinds of scrapbook paper. I have even seen these coasters made out of tiles, with the surface painted with chalkboard paint, that is even an easier project!
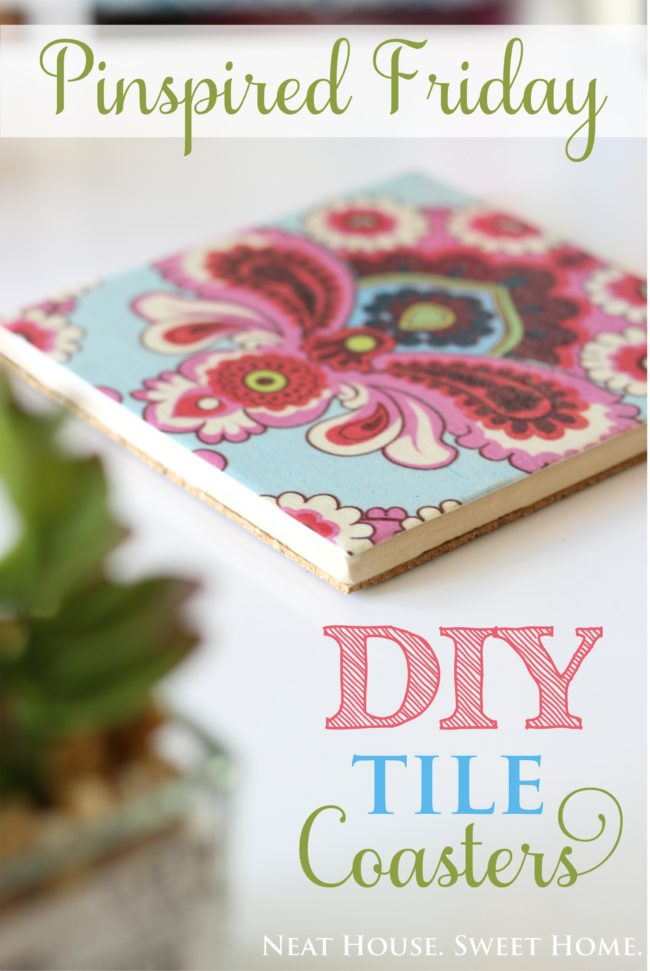
Love it? Pin the image below and save it for later!

I had these sheets of scrapbook paper sitting in my studio for a very long time! It's a beautiful floral design from Amy Butler and I am glad I found the perfect project to use them and show them off.
If you love Pinterest and DIY tutorials, you are going to love my DIY Projects, board. Head over to Pinterest and follow me!

Your turn! What pin has inspired you to 'get your craft on' and make a DIY project? I would love to see!

Homemade Coasters With Tiles and Scrapbook Paper
Source: https://www.neathousesweethome.com/diy-tile-coasters/

0 Response to "Homemade Coasters With Tiles and Scrapbook Paper"
Post a Comment