How to Make a Origami Red Rose
This simple Origami rose really does just take a few minutes to make. Once you master it you will be able to make loads of roses for any occasion. They are great for beginners with Origami. What about making them to decorate a table at a birthday party or a wedding? Or just to gift to a friend because you can!
Many people think that Origami is really hard and it can get complicated but trust me these Origami roses really are easy. So read on and start making yours or if you prefer scroll down to the video tutorial to watch me making mine.
This page contains affiliate links meaning I earn a little commission if you use those links at no cost to you. I only recommend brands I use and trust.
You will need:
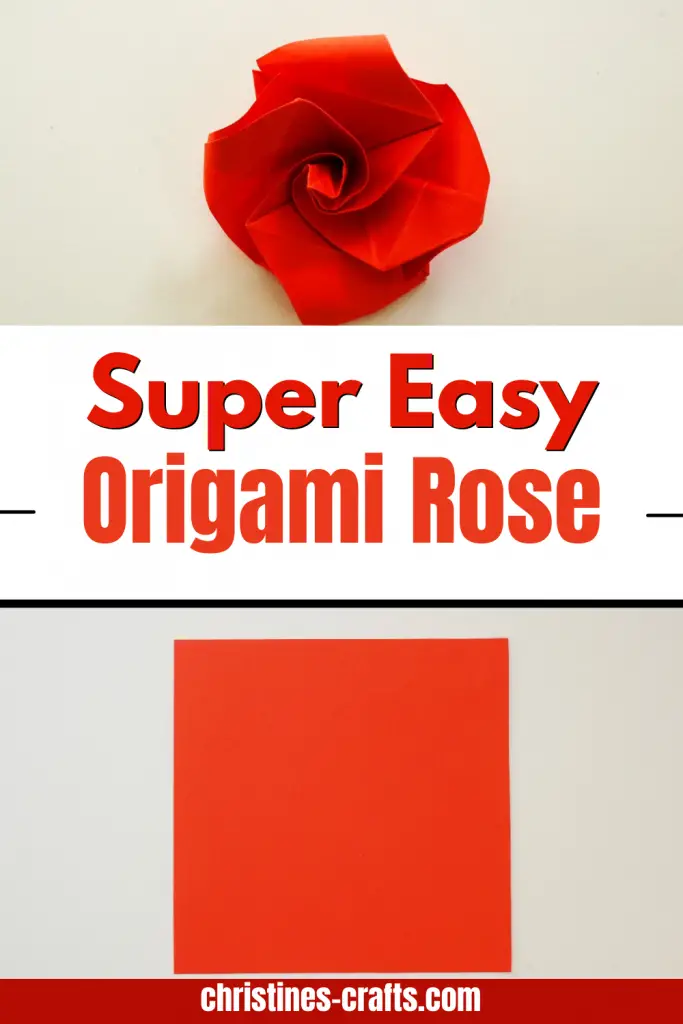
A square of paper. Origami paper is great but I just used copier paper.
You can make these any size but they seem to work better when they are smaller. These are made using a 4″ square.
General Origami Tips
- Ensure all folds are accurate
- Press all folds firmly
- Running your fingernail along a crease makes it a sharp crease
- Ensure your paper is the same way round as mine at every step
- If you want to learn some basic origami folds take a look at The Beginner's Guide to Origami
First Folds
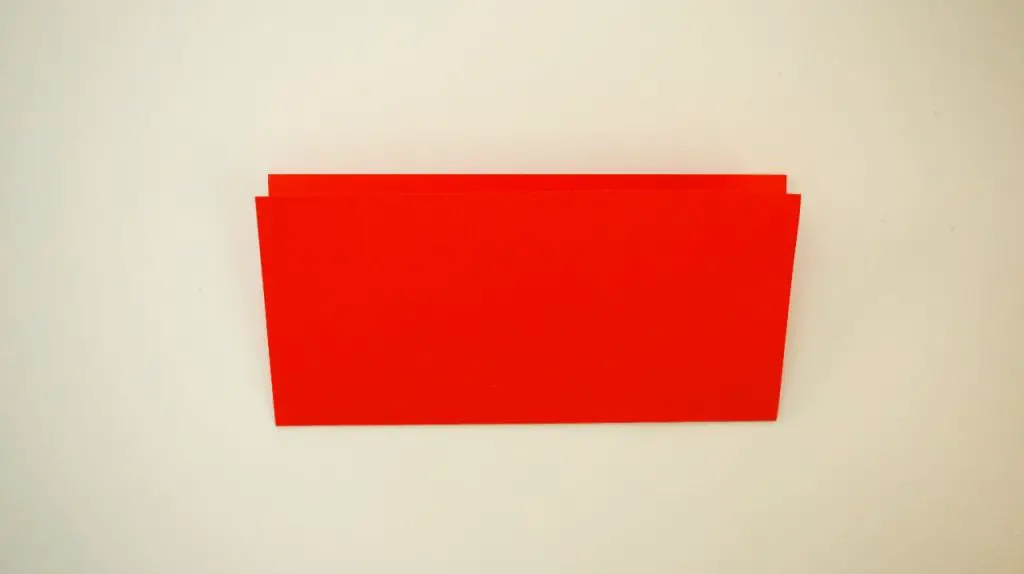
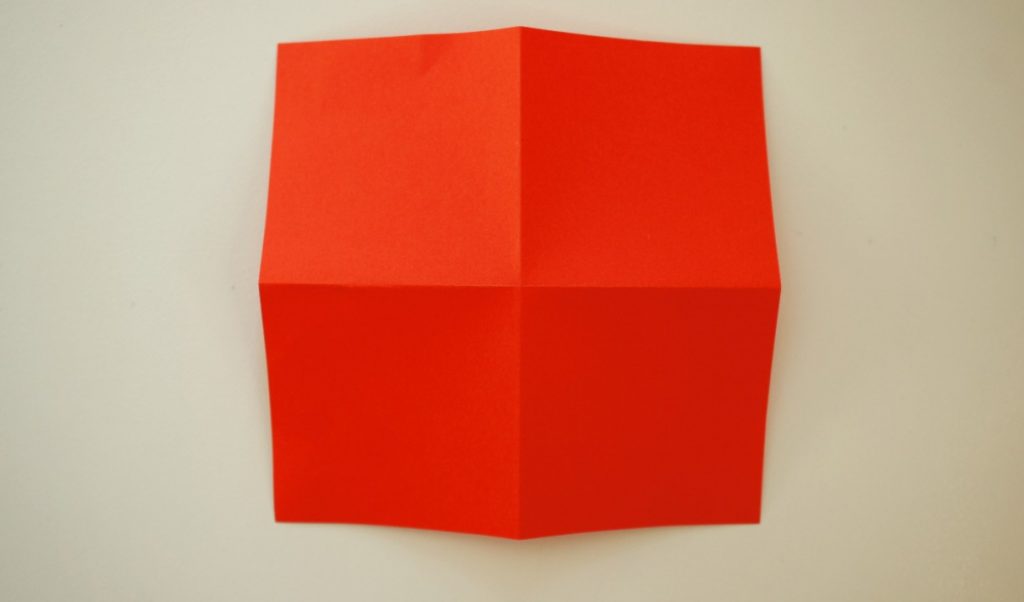
Take your square of paper and fold it in half so that one side lies on top of the opposite side. Open it back up and repeat for the other 2 sides. Then turn the paper over – this is important.
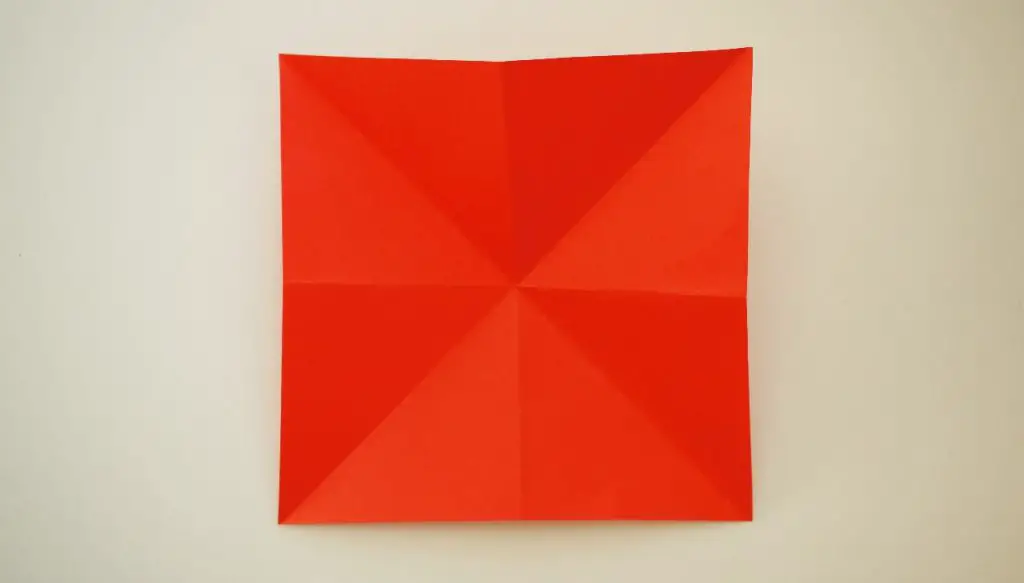
Now, take your square of paper and fold it in half so that one corner folds over to reach the opposite corner forming a triangle. Open it back up and repeat for the other 2 corners.

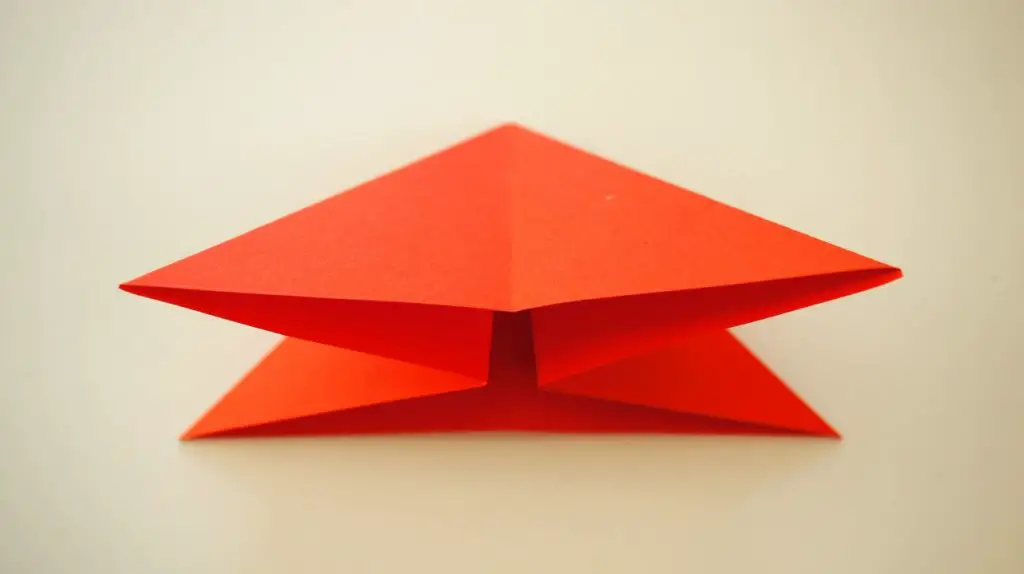
Now fold the square in on itself to form a triangle. If you remembered to turn your paper over between the folds above it should naturally fold up correctly. It is tricky to explain but shown clearly on the photos below and in the video. This is a really common Origami technique and worth learning. It is the basis for many projects.
Detailed Folds
Now take one side of your triangle and fold just the front point up to the top of the triangle. Repeat for the other side.

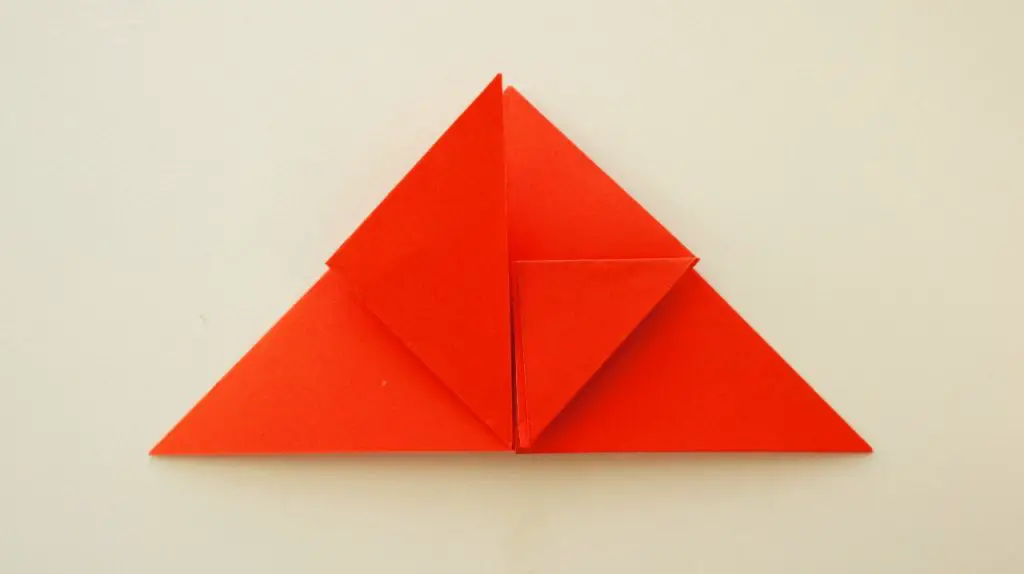
In turn fold each point down to the bottom of the triangle as shown.

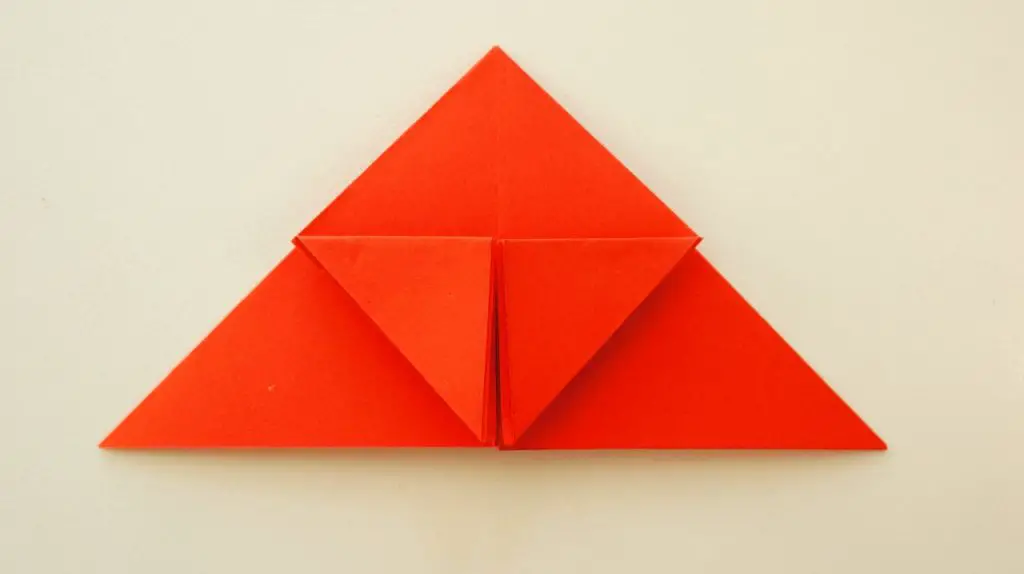
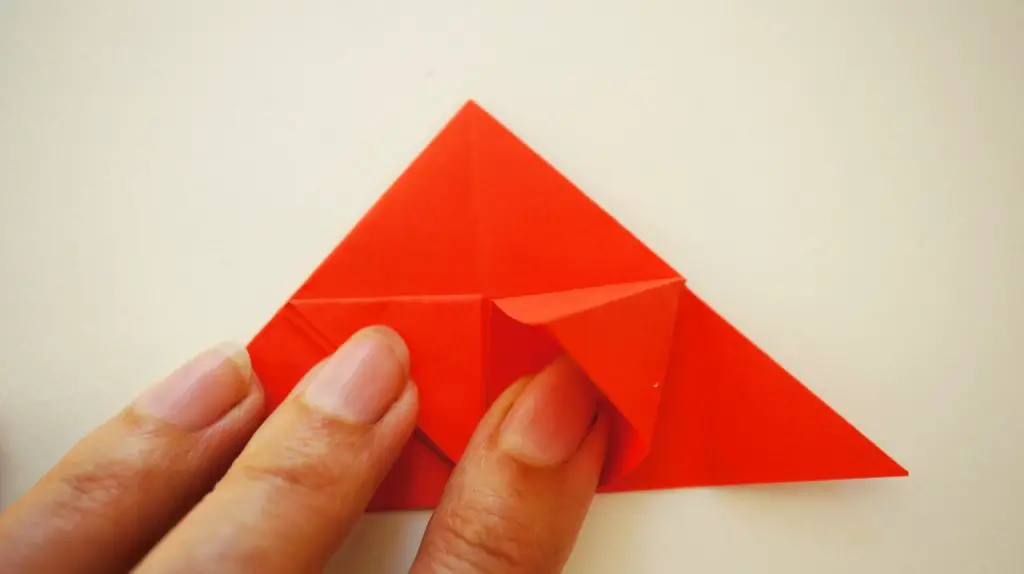
In turn you need to open up the small pocket that you have just formed and flatten it to form a square on the triangle. This is easy to do with your finger.
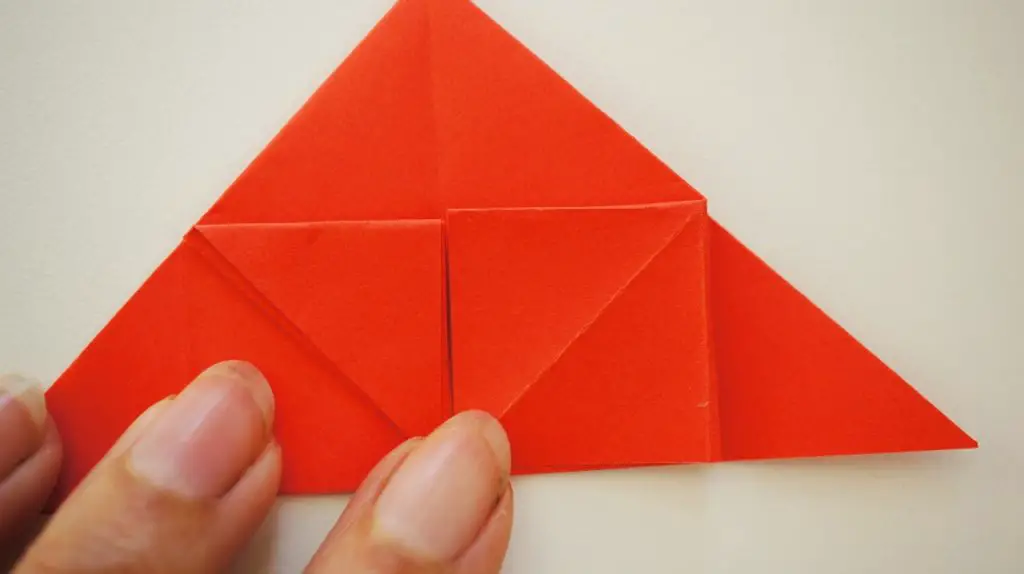
Now turn your paper over and repeat this whole step on the other side. It should end up looking like this.
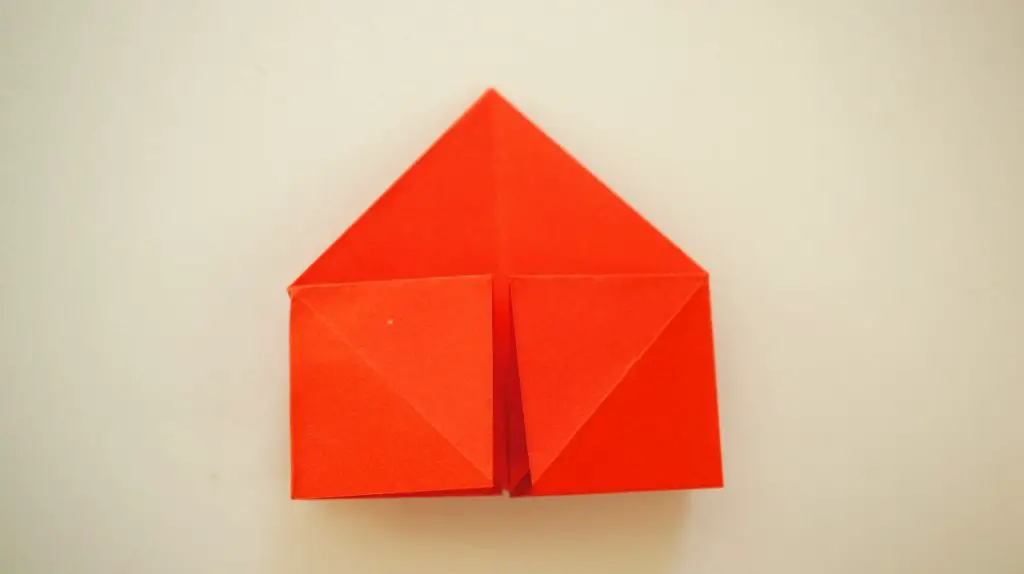
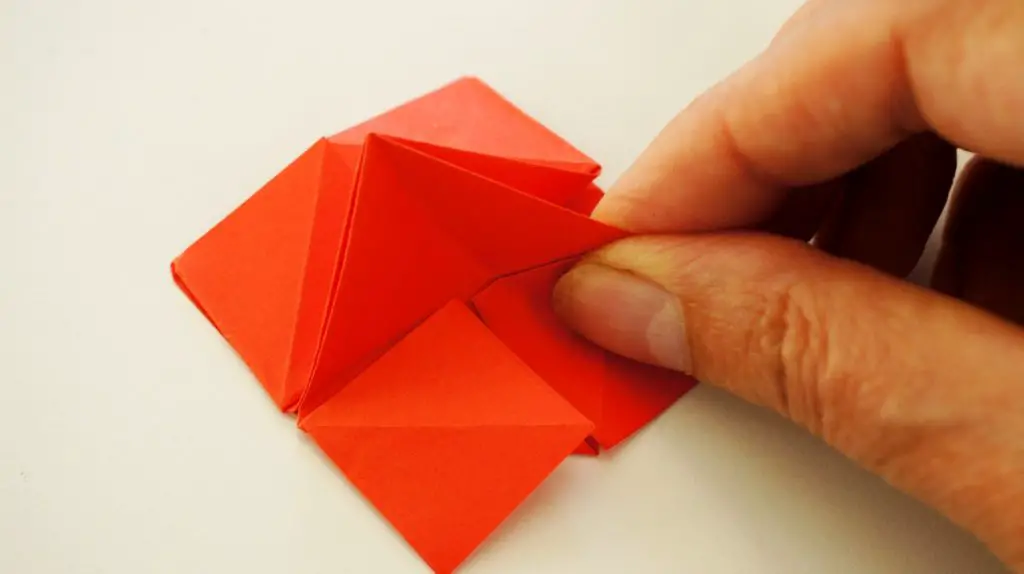
Fold the top point over onto the squares that you made.

Prepare the Rose
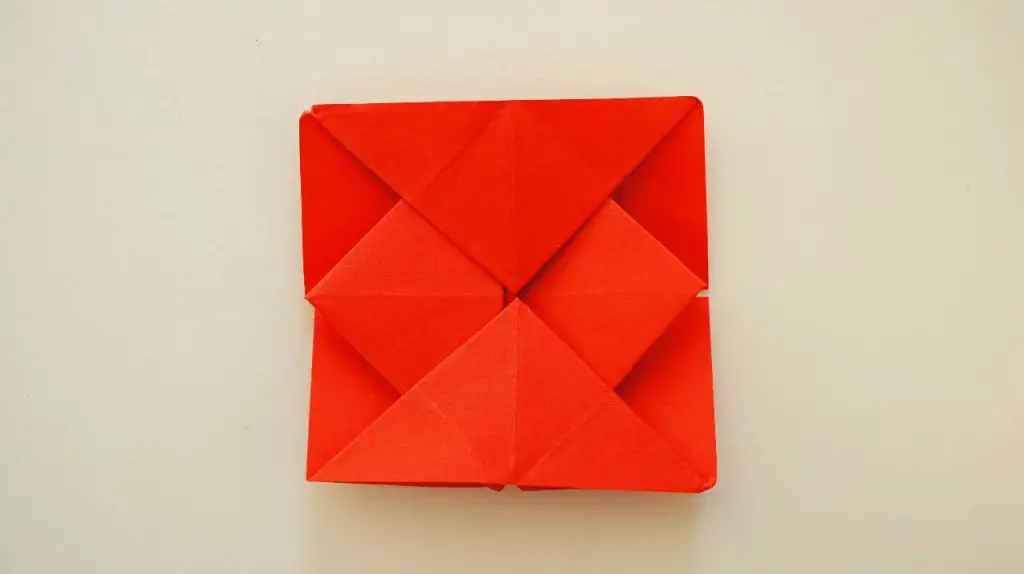
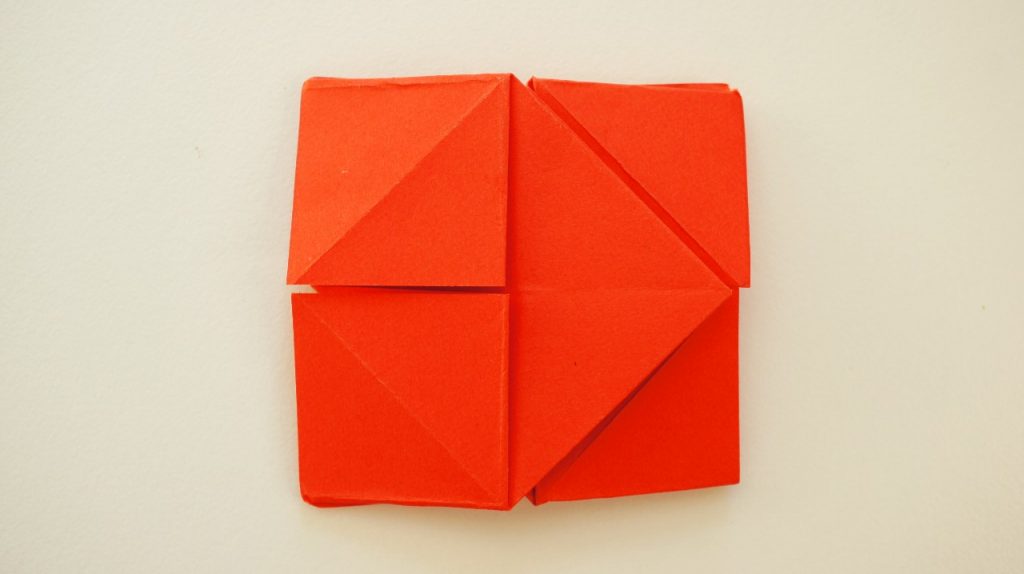
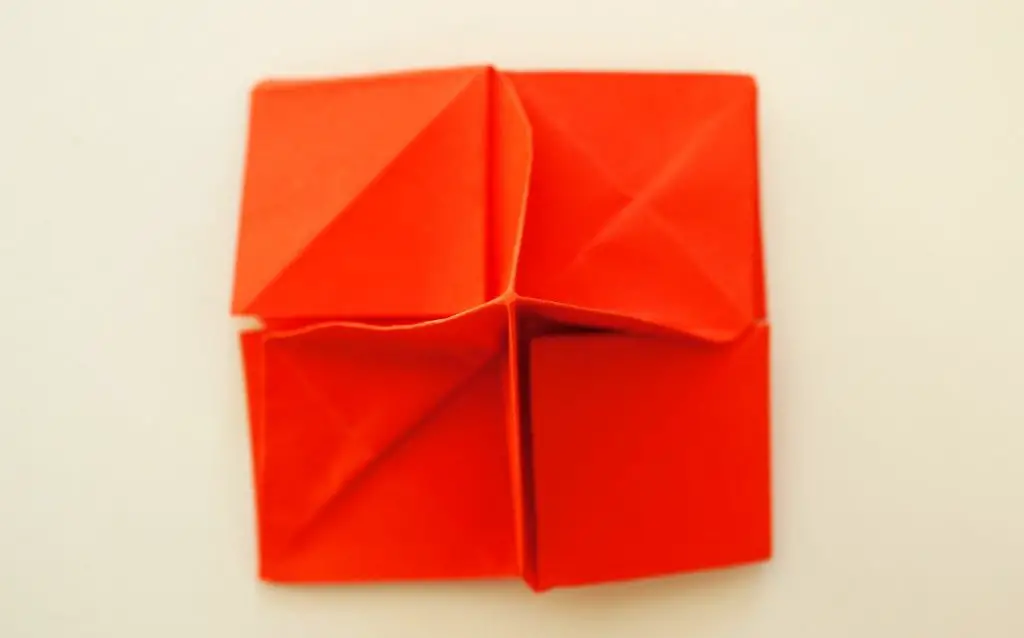
Now open up the 'bottom' of your shape and flatten it to form a new 'square' of paper. Push your finger into each triangle in turn and flatten them down. The bottom 2 images show you the front and the back of your finished square. I think that this is the hardest part to figure out but once you do it seems obvious and you can do it again and again with ease so persevere!

Form the Origami Rose
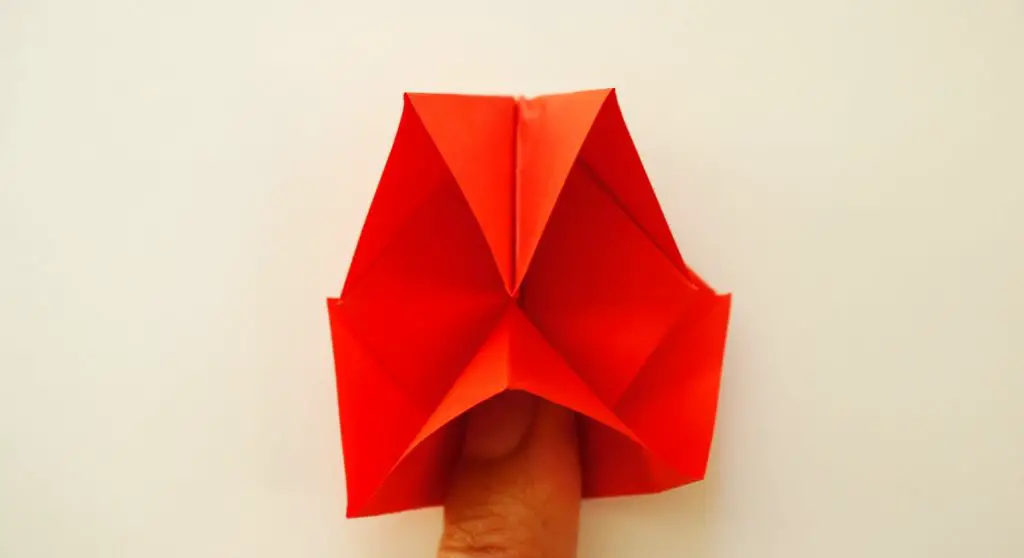
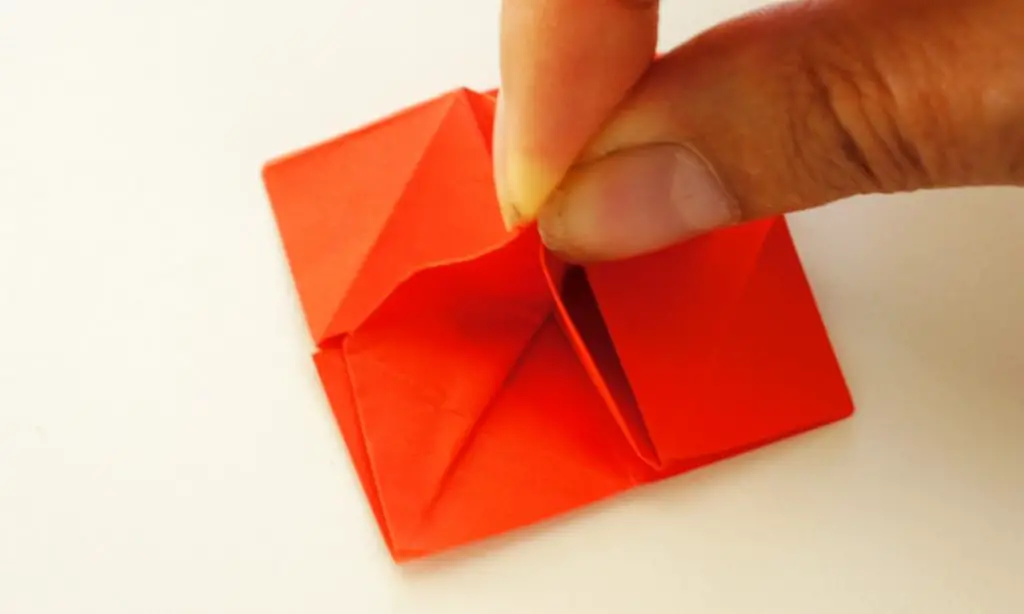
Yes, you are finally going to form the actual Origami rose! Leave your square of paper upside down compared to how you were working on it. Lift the triangle so that it is perpendicular to the square of paper. This is going to be the centre of your rose.

Now, open up one side of that triangle which will open up one of the squares. Fold it so that it now forms a triangle perpendicular to the first one and the square. Repeat this on the opposite side so that you have 4 triangles all sticking up and perpendicular to each other.

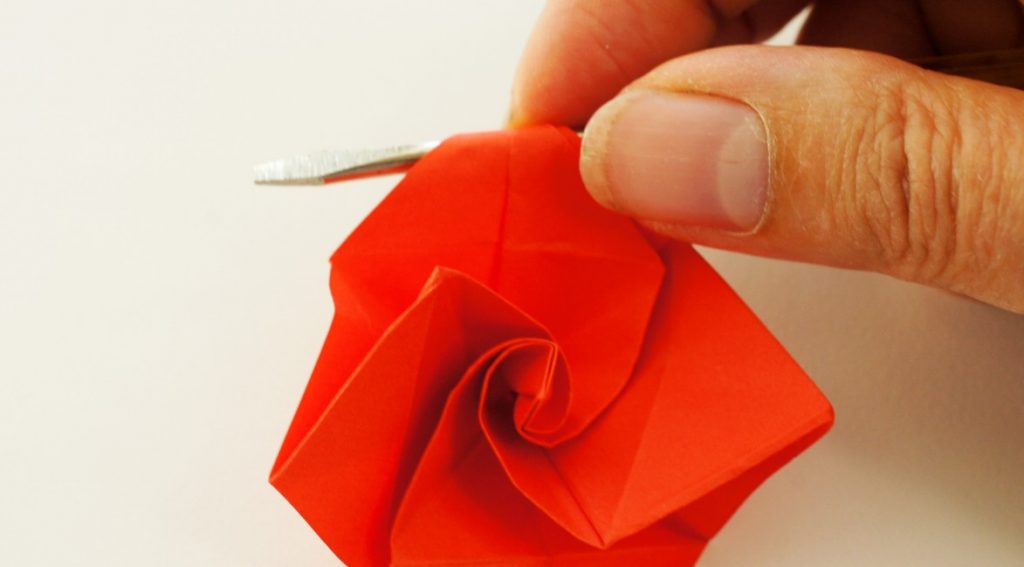
Now simply nip the centre of your triangles at the point and twist. It is easiest to do this while holding it in your other hand. You will now form a rose flower.

To complete your rose simply curl the edges of the petals over something small and circular. A pencil can work well and I tend to use the shank of a screwdriver as I prefer that size.
Video Instructions for Origami Rose
Your Completed Origami Rose
Congratulations you have completed your first Origami rose! You will now find that if you try again it is really easy. They become really quick to make and great fun for older kids and adults alike.
If you enjoy paper crafts then check out some more great ideas here:
Make an Origami Heart Corner Bookmark
How to Make an Origami Lotus Flower
How to Make a 5 Pointed Origami Star
Iris Paper Folding for Cards and Art
Gorgeous Flowers from Magazines
Good luck with your flowers and please feel free to leave me any questions or comments in the comments section below. I read them all and respond!
How to Make a Origami Red Rose
Source: https://christines-crafts.com/how-to-make-a-cute-but-simple-origami-rose-in-5-minutes/
0 Response to "How to Make a Origami Red Rose"
Post a Comment